First of all, we need to understand the basic about of the LoRa communication.
The RFM95 module is a transceiver, it transmits as much as it receives packets, and because it is a radio frequency communication, the transmitting and receiving module must be configured with the same frequency, SF, among other configurations.
Currently, there are some libraries for RF Modules, which I will use is specific to the LoRa module and it is very user-friendly!
Library
Here is the link to download library, is possible to download on Library Manager on Arduino IDE.
Basically, the library was designed to work with LoRa radio how uses SX1276 chip with SPI communication. Check the github for more information !!!
There is no addressing or encrypted in this library, so is perfect to start with LoRa technology.
Powering
To start to communicate with the module we need to connect the power supply and the SPI communication.
The RFM95 works with 3.3V so do not connect to 5.0V, the chip will die if you do that!
Usually, we need to connect every IO pin on a logic level converter, to convert the SPI pins from Arduino to 3.3V. Actually, I have a hacked Arduino how is running with 3.3V, check how to hack your Arduino and to do that!
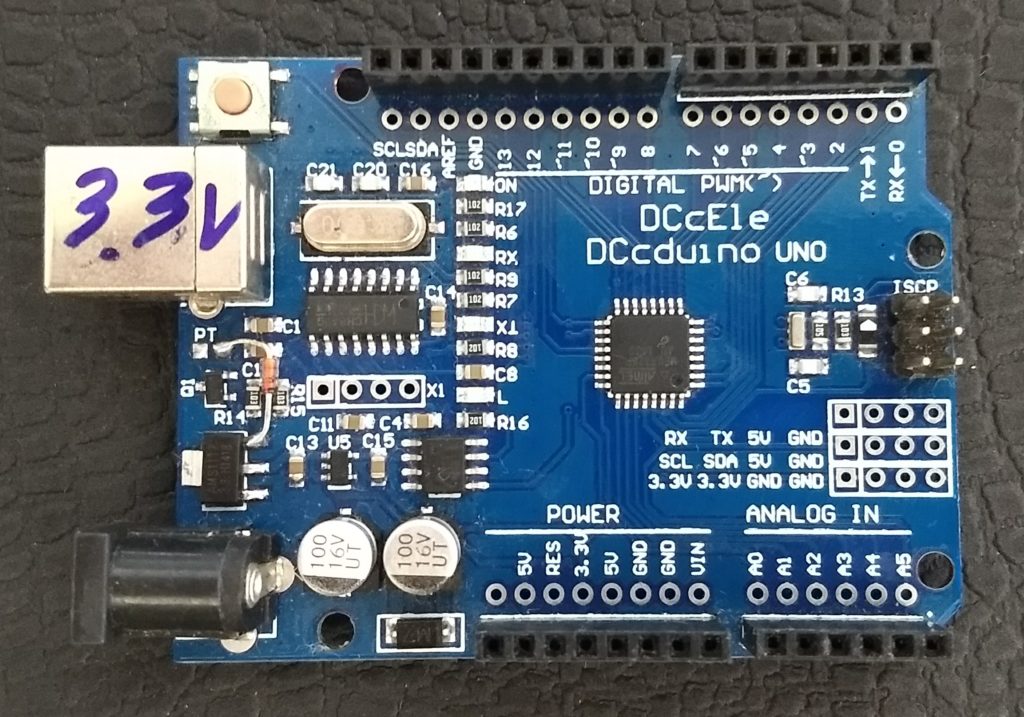
Or you can use an Arduino Pro Mini 3.3V, It’s easier.
Sleep
After wiring all pins correctly. Let’s try this code!
#include "LowPower.h"
#include <SPI.h>
#include <LoRa.h>

void setup() {
   if (!LoRa.begin(915E6)) {
      LoRa.end();
      pinMode(LED_BUILTIN, OUTPUT);
      while (1) {
         digitalWrite(LED_BUILTIN, !digitalRead(LED_BUILTIN));
         LowPower.powerDown(SLEEP_250MS, ADC_OFF, BOD_OFF);
      }
   }
   LoRa.sleep();
}

void loop() {
   LowPower.powerDown(SLEEP_FOREVER, ADC_OFF, BOD_OFF);
}
This code I use to test if the module communication is working and check the total sleep current. If the connection is wrong the Led is gonna flash like a crazy, if not everybody is sleeping.
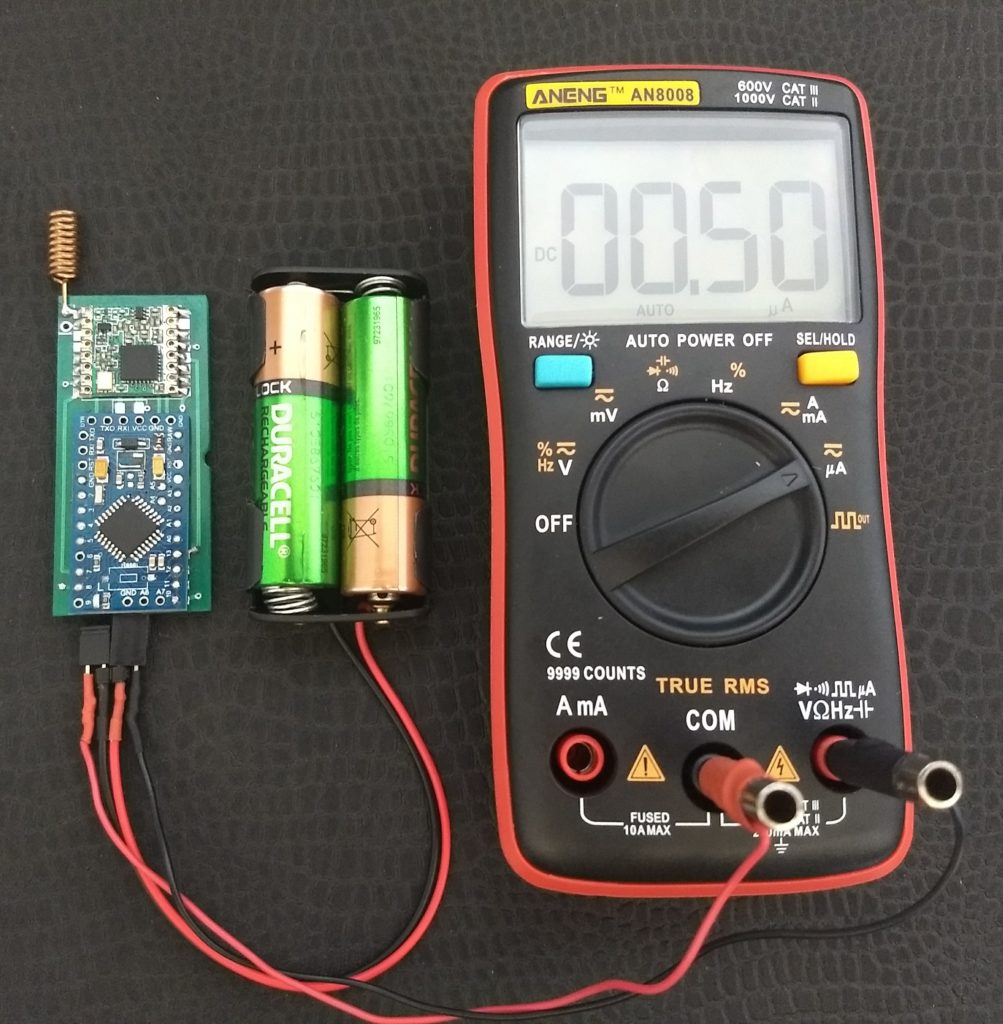
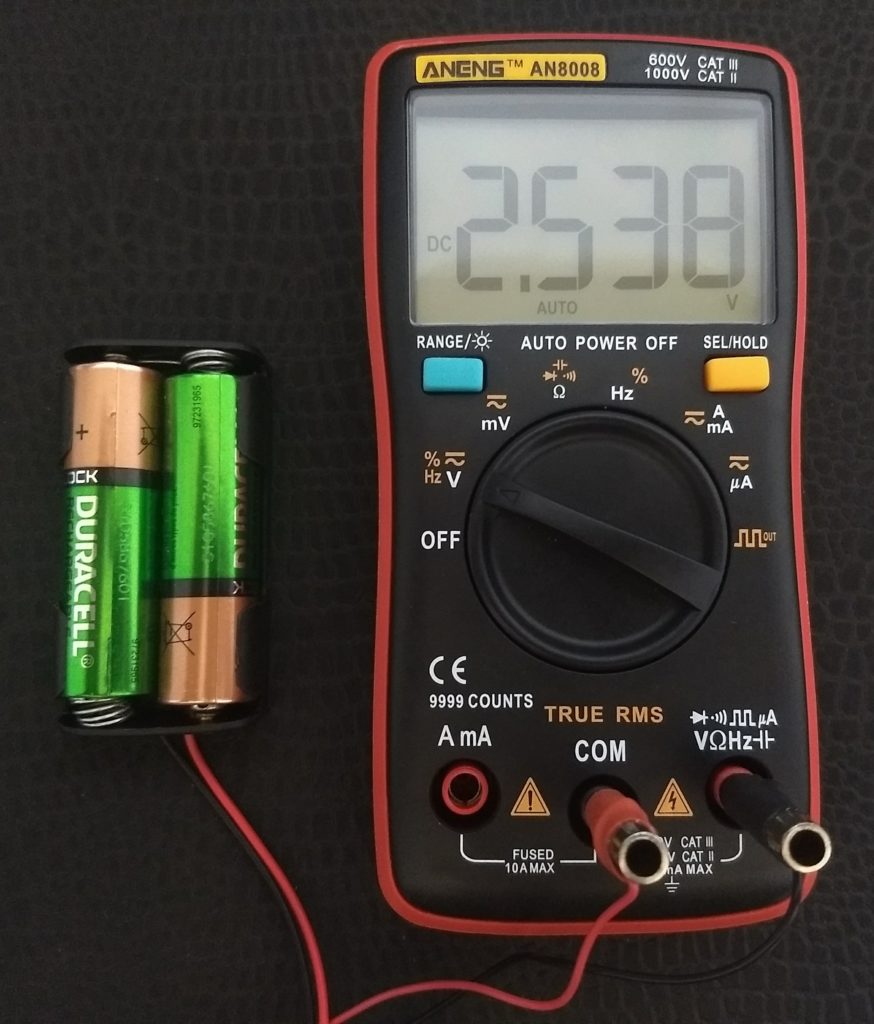
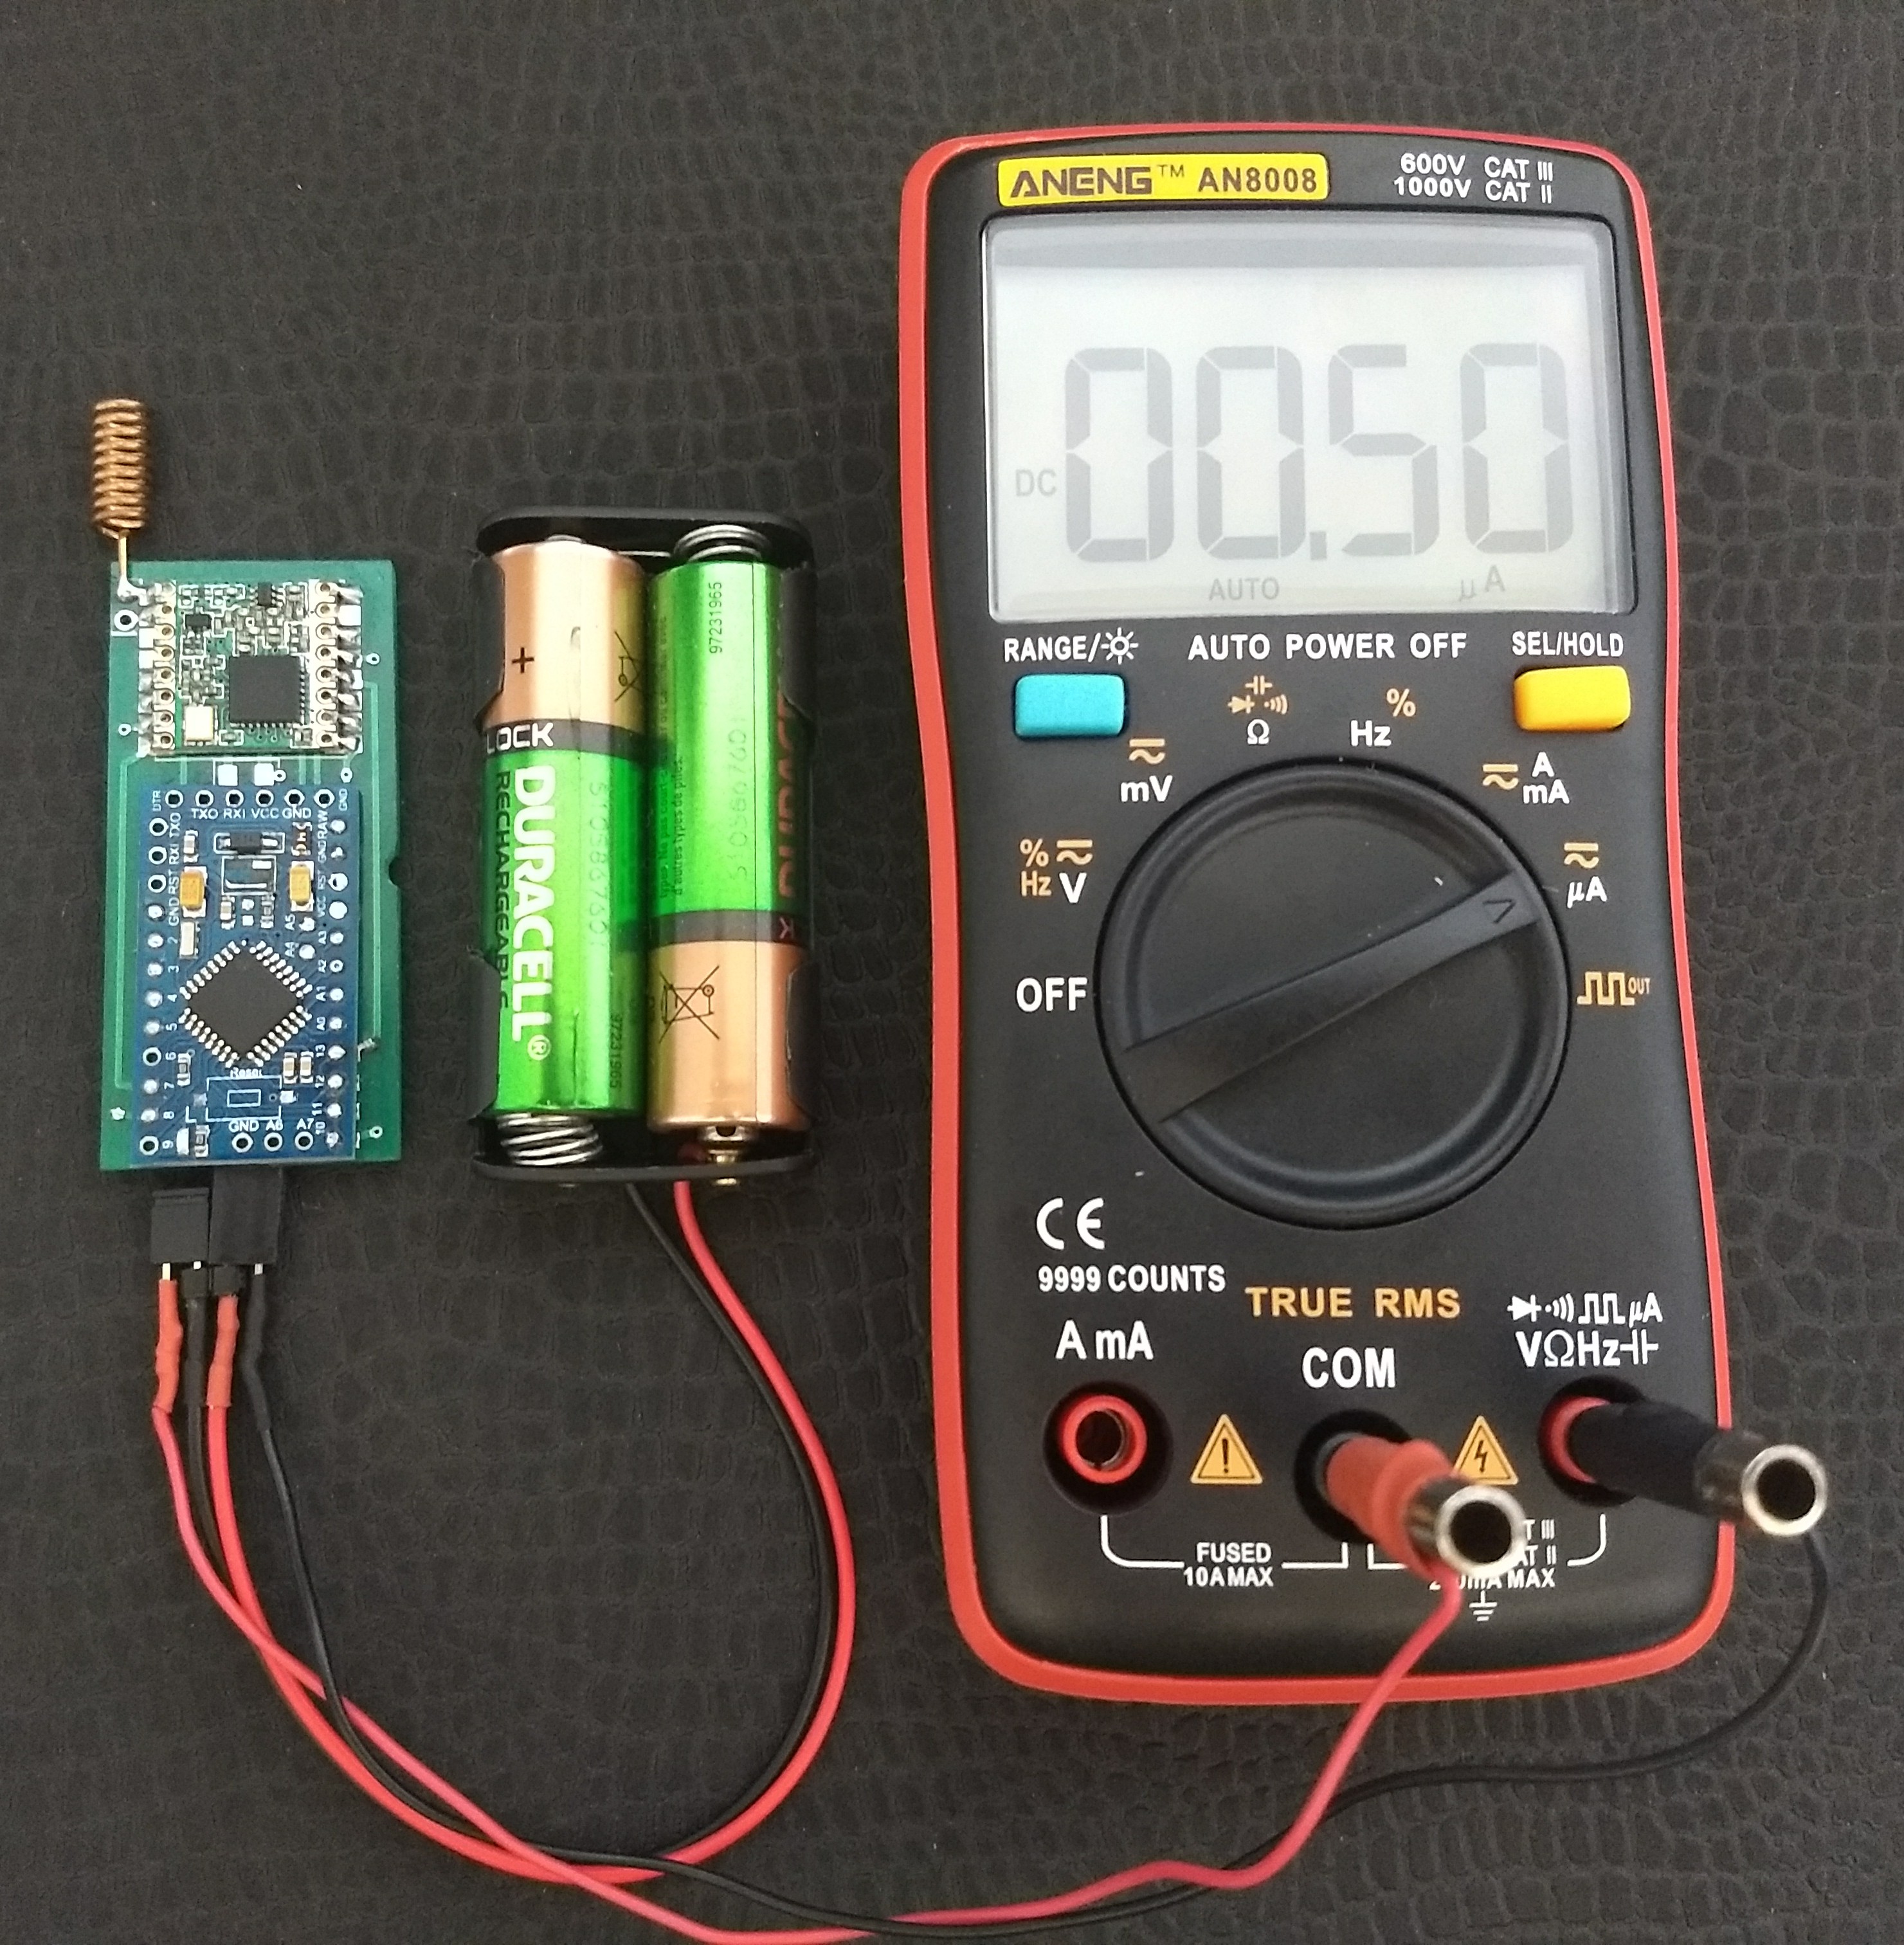
With this code, I was able to measure around ~0.5uA at ~2.54V, pretty good.
For comparison, I made the same thing with a new battery.
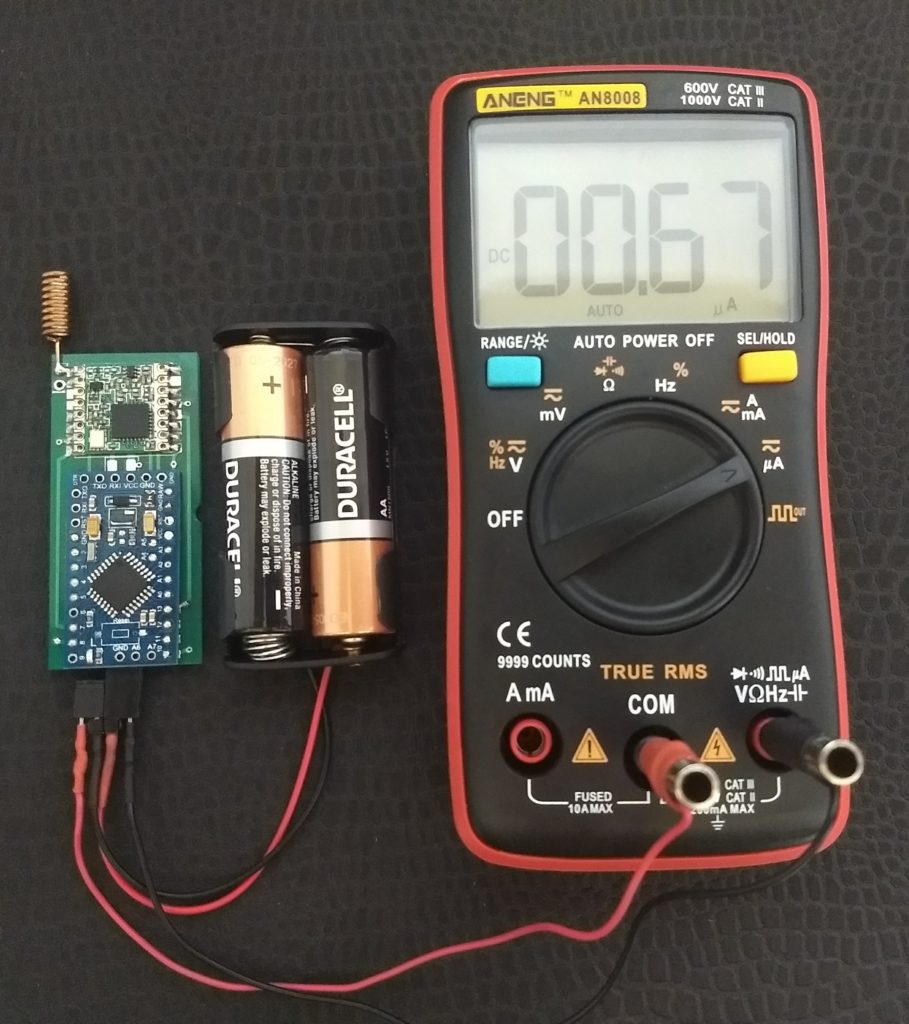
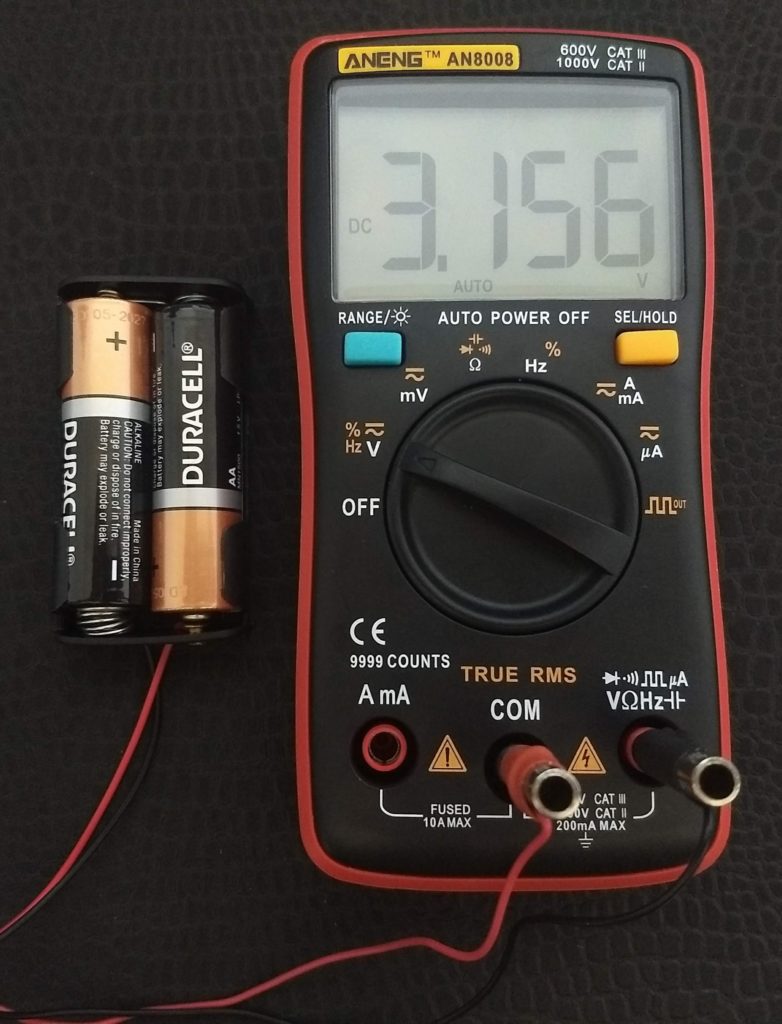
I was able to measure around ~0.67uA at ~3.15V, still under 1uA on deep sleep.
If we use an external interrupt it’s possible to wake up the board, some code like this…
#include "LowPower.h"
#include <SPI.h>
#include <LoRa.h>

const int wakeUpPin = 3;

void wakeUp()
{
}

void setup() {
   if (!LoRa.begin(915E6)) {
      LoRa.end();
      pinMode(LED_BUILTIN, OUTPUT);
      while (1) {
         digitalWrite(LED_BUILTIN, !digitalRead(LED_BUILTIN));
         LowPower.powerDown(SLEEP_250MS, ADC_OFF, BOD_OFF);
      }
   }
   pinMode(wakeUpPin, INPUT_PULLUP);
   attachInterrupt(digitalPinToInterrupt(wakeUpPin), wakeUp, FALLING);
   LoRa.sleep();
}

void loop() {
   LowPower.powerDown(SLEEP_FOREVER, ADC_OFF, BOD_OFF);
   LoRa.idle();
   LoRa.beginPacket();
   LoRa.print("Hello!");
   LoRa.endPacket();
   LoRa.sleep();
}
When the pin 3 goes to ground, the board wakes up and send some packet and goes to sleep again.
This code was created to work with the LoRaSimpleGateway example from LoRa Library.
Conclusion
Adding the RFM95 increase the sleep current, and the battery voltage influence too.
The code is really simple, there are others clever ways to make the board wake up, like using real-time clock interrupt or the internal watchdog.
See you next time!
Reference:
Arduino LoRa Library: https://github.com/sandeepmistry/arduino-LoRa
Arduino LowPower Library: https://github.com/rocketscream/Low-Power/
Convert Arduino to 3.3V: https://learn.adafruit.com/arduino-tips-tricks-and-techniques/3-3v-conversion
