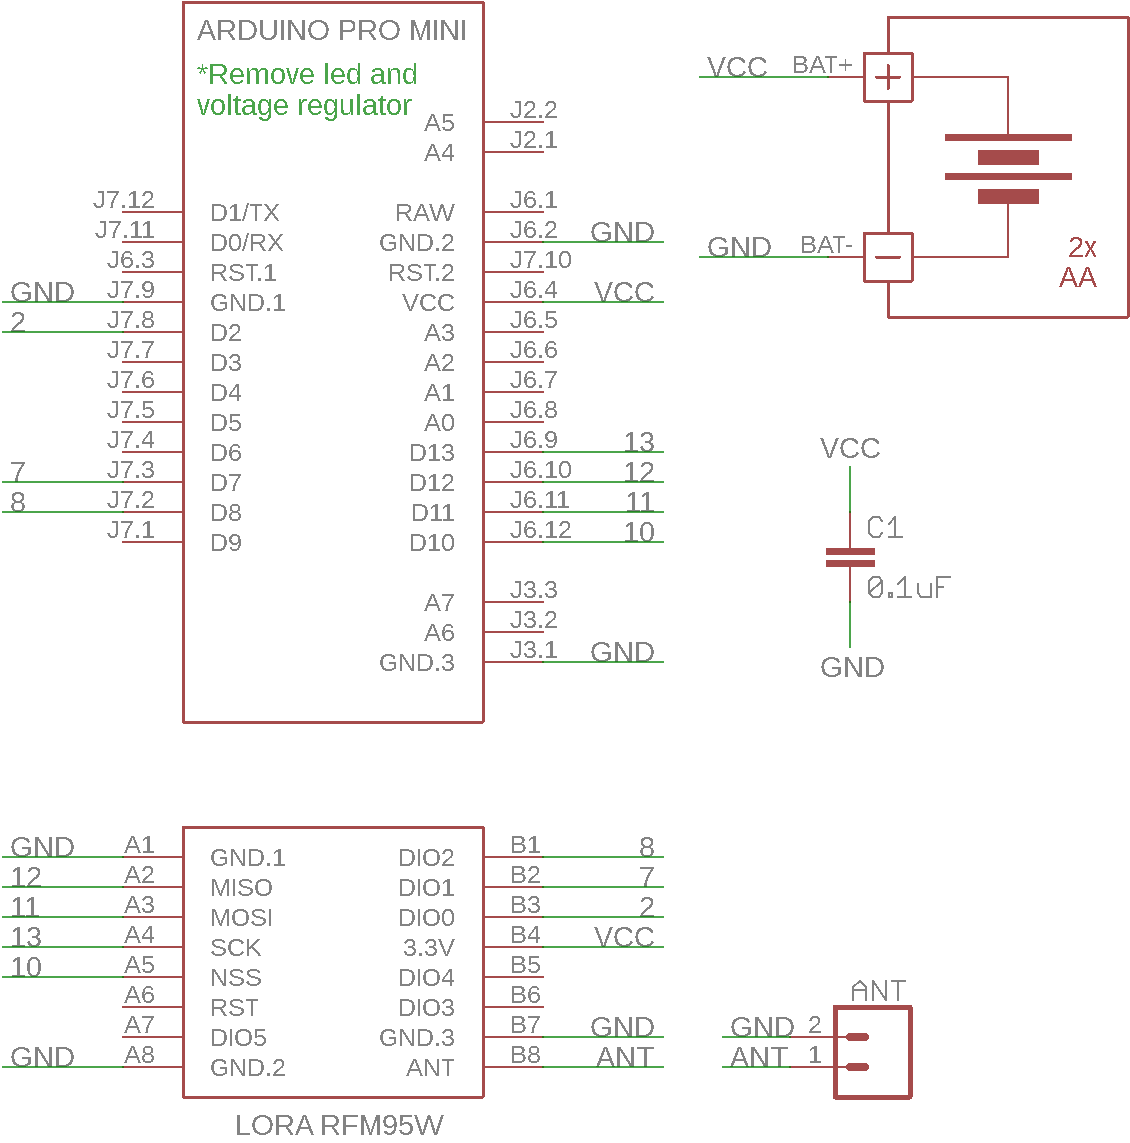

How the schematic works?!
Basically use two main components, Arduino Pro Mini and RFM95 LoRa Module.
The circuit is powered by 2 AA batteries.
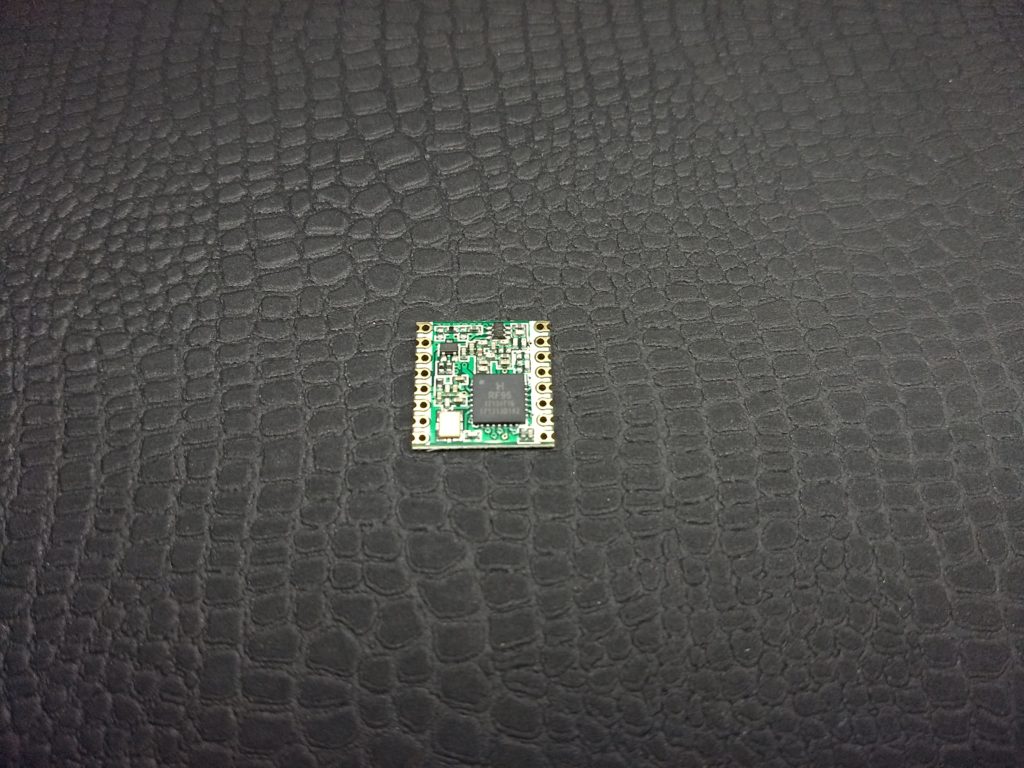
RFM95 – LoRa Module
The RFM95 is based on the SX1276 chip, a Low Power Long Range Transceiver. It’s uses SPI (Serial Peripheral Interface) and others pins to communication with the Microcontroller.
SCK, MISO, MOSI and NSS: SPI communication.
DIO0: Transmission ends or Receives data.
DIO1: Receives data time out.
This two DIO is really important for LoRaWAN library, but this topic is for other day.
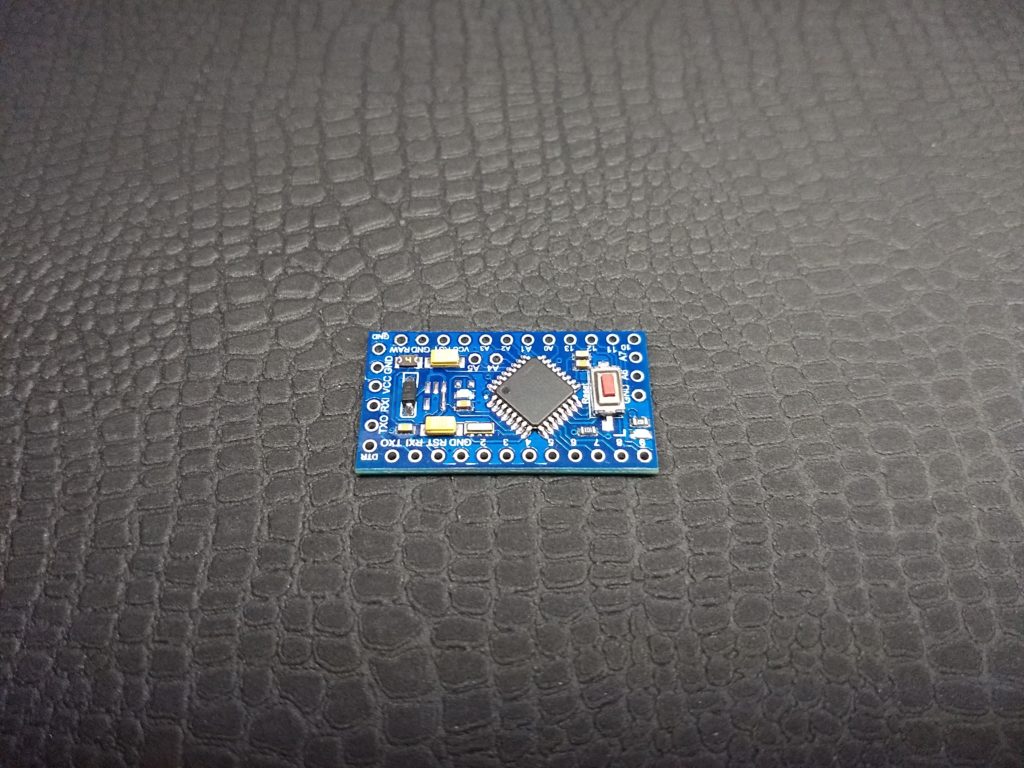
Arduino Pro Mini
The Arduino Pro Mini is based on the Atmega328p chip, is a small board and uses a little quantities of components. It’s great for low power purpose, but is important to remove some unused components.
The power regulator and the power on led (sometimes is easier to remove the resistor).
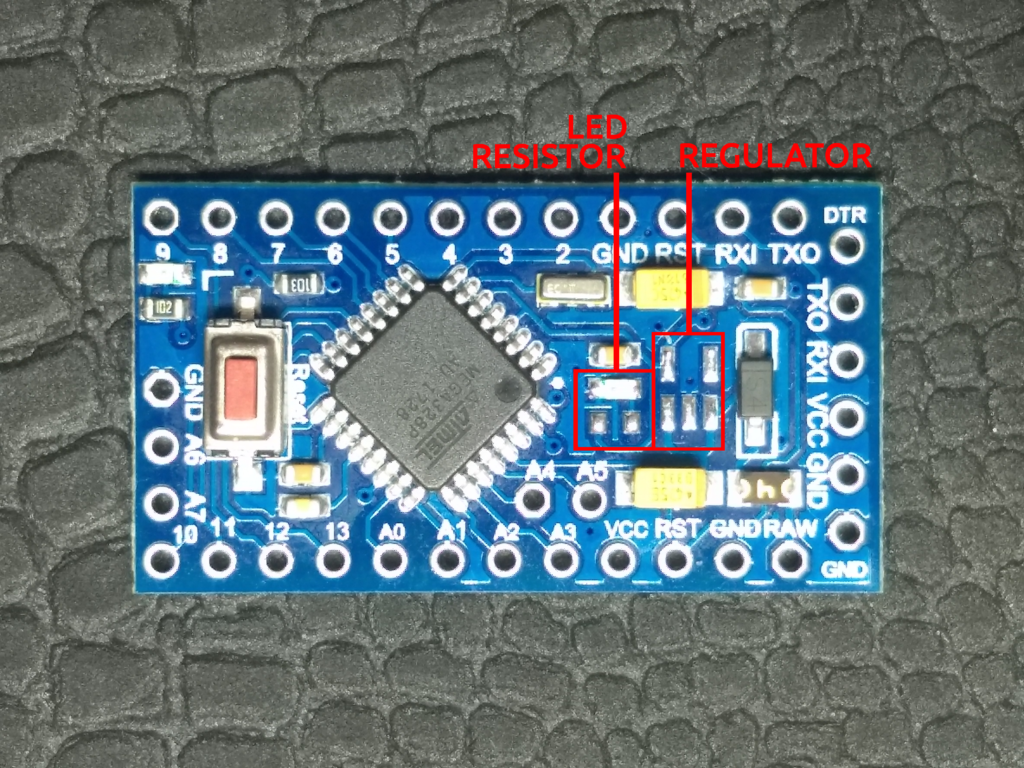
With this configuration is possible to get ~0.1uA in deep sleep, pretty great!
Arduino 16MHz or 8MHz
Usually have two version of the Arduino Pro Mini boards, 16MHz with 5.0 volts and 8MHz with 3.3 volts. The datasheet of the Atmega328p show with a 16MHz clock the chip needs around 4 volts.

On my tests with 16MHz board works with 3 volts, but I don’t like the idea of working outside of the Safe Operating Area.
The 8MHz version is better for this design, becouse I’m using 2 AA batteries, and the voltage goes to ~3.1 volt when full battery and ~2.2 volts when empty.
Brown-out Detector (BOD)
Usually the Arduino comes with the Brown-out Detector level enable at VCC = 4.3V or VCC = 2.7V, thats mean the board don’t work with voltage below the BOD.
For this design I change the BOD to VCC = 1.8V, and for this I burned the extended_fuses to 0x06. For more information about fuse check the usefull links about AVR.
Make Your Own
So there was some useful information to make your own LoRa node with low power, it’s really important to burn the fuse if you want to go below 2.7 volts. But you can use some LDO regulator with a small quiescent current, like HT7333 or MCP1700.
Next time I gonna share some simple codes, to use with this design.
Usefull Links:
AVR Tutorial : http://www.ladyada.net/learn/avr/fuses.html
AVR Fuse Calculator : http://www.engbedded.com/fusecalc/